


No doubt crawlspaces are perils full of bizarre, mysterious odors along with uninvited four-legged creatures making scraping voices. If you feel like we’re stuck when it comes to ensuring a constant temperature in your crawlspace, you’re not alone. The only thing you need at this point is encapsulating your crawl space. DIY crawl space encapsulation is a practical and cost-effective way to improve your home’s air quality, reduce energy costs, and prevent moisture-related issues. In this guide, we will explore what is crawl space encapsulation, why it’s beneficial, and how to encapsulate a crawl space yourself. Plus, we’ll recommend essential encapsulation materials and offer pro tips to ensure the success of your project.
What is Crawl Space Encapsulation?
Crawl space encapsulation involves sealing the crawl space with a moisture barrier to prevent humidity, mold, and pests from entering your home. By encapsulating a crawl space, you create a controlled environment that safeguards your home from the adverse effects of moisture and improves overall indoor air quality.
Benefits of Crawl Space Encapsulation
Encapsulating a crawl space offers numerous benefits:
- Moisture Control: Prevents water vapor from rising into your home, reducing the risk of mold and mildew.
- Improved Air Quality: Reduces allergens and pollutants, contributing to a healthier living environment.
- Energy Efficiency: Lowers energy costs by maintaining consistent temperatures and reducing the load on your HVAC system.
- Structural Integrity: Protects your home’s foundation and wooden structures from moisture damage and rot.
Understanding what is crawl space encapsulation is the first step towards a healthier home. This process is especially vital in regions with high humidity, with more prevalent moisture problems. By encapsulating a crawl space, homeowners can protect their investment and create a more comfortable living space.
Why DIY Crawl Space Encapsulation?
Opting for crawl space encapsulation DIY has several advantages:
- Cost Savings: DIY projects can be significantly cheaper than hiring professionals.
- Personal Satisfaction: Completing a home improvement project yourself brings a sense of accomplishment.
- Control Over the Project: You can ensure the job meets your standards and timeline.
Main Steps Involved in DIY Crawl Space Encapsulation
- Preparation: Clear the crawl space of debris and pests, and inspect for structural damage or leaks.
- Material Selection: Gather all necessary crawlspace encapsulation materials, such as vapor barriers, insulation, sealants, and tapes.
- Installation: Step-by-step application of vapor barriers, sealing vents, insulating walls, and setting up a dehumidifier.
Materials Needed for Crawl Space Encapsulation
When embarking on a DIY crawl space encapsulation project, having the right materials and tools is essential to ensure a successful outcome. Here’s a comprehensive list of the materials and tools you’ll need for crawl space encapsulation DIY:
Comprehensive List of Crawl Space Encapsulation Materials
Vapor Barrier: A thick, durable plastic sheet, typically 10-20 mils thick, used to cover the ground and walls of the crawl space to prevent moisture from seeping in.
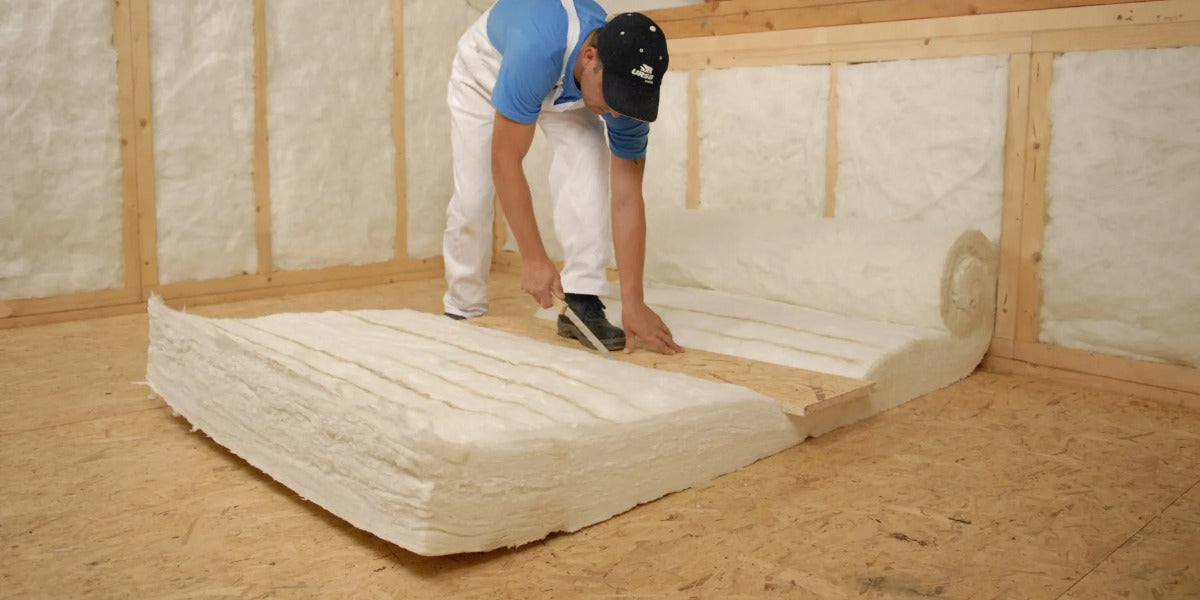
Insulation: Foam board or spray foam insulation to cover the walls and rim joists, which helps to maintain temperature and reduce humidity.
Sealant: High-quality caulking or spray foam to seal gaps and cracks around vents, pipes, and wires.
Tape: Specialized vapor barrier tape to secure the seams of the vapor barrier and ensure a tight seal.
Fasteners: Staples, screws, or adhesive to attach the vapor barrier and insulation securely.
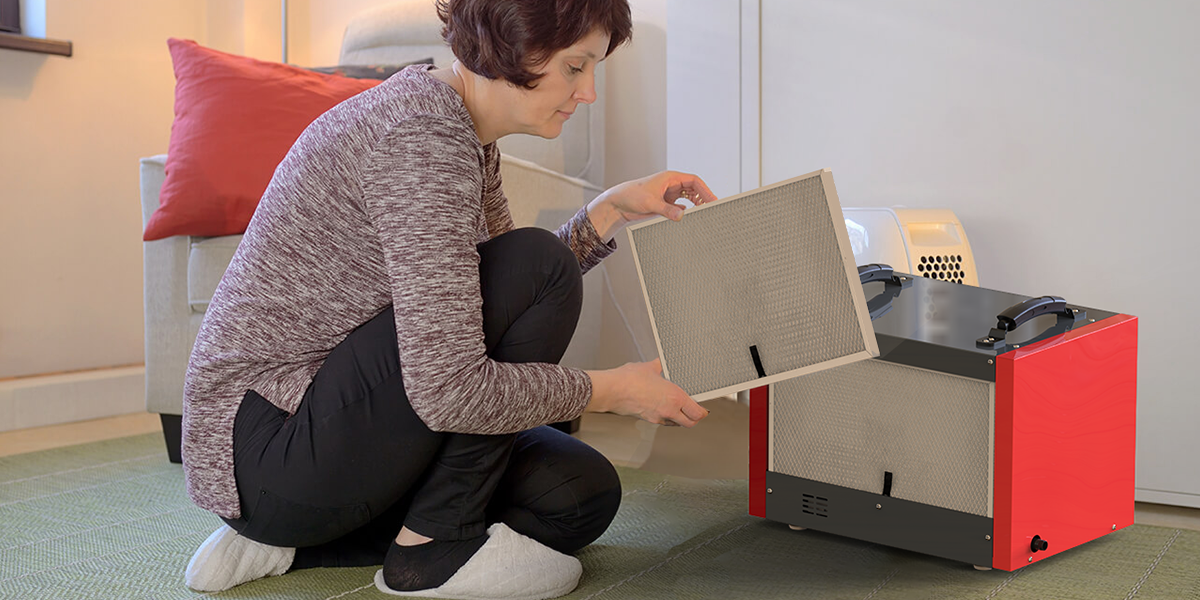
Dehumidifier: A crawl space dehumidifier to control the humidity levels and keep the area dry and mold-free.
Recommended Tools for the Job
Utility Knife: For cutting vapor barriers and insulation to size.
Measuring Tape: To measure dimensions accurately and ensure a precise fit for all materials.
Protective Gear: Gloves, masks, and safety glasses to protect yourself from dust, debris, and potential mold exposure.
Staple Gun and Staples: To attach insulation and vapor barriers securely to walls and joists.
Caulking Gun: For applying sealant around vents, pipes, and other openings.
Roller: To smooth out the vapor barrier and ensure it adheres properly to the surfaces.
Pro Tip: Use High-Quality Materials
For perfect crawl space encapsulation DIY, Investing in high-quality crawlspace encapsulation materials is crucial for ensuring long-lasting results. Cheaper materials may save you money upfront but can lead to issues down the line, such as inadequate moisture protection and the need for frequent repairs. By choosing durable, high-performance materials, you can ensure that your crawl space remains dry and protected for years to come.
Step-by-Step Guide to DIY Crawl Space Encapsulation
Now that you have all the necessary materials and tools, let’s dive into the step-by-step process of DIY crawl space encapsulation. This guide is a comprehensive answer to ‘how to encapsulate a crawl space’ and will help you achieve a well-sealed and moisture-controlled crawl space.
Step 1: Prepare the Crawl Space
Clear Out Debris and Pests: Remove any debris, old insulation, or stored items from the crawl space. Ensure the area is free of pests by setting traps or calling a pest control service if necessary.
Inspect for and Repair Any Structural Damage or Leaks: Check for any signs of water damage, leaks, or structural issues. Repair any cracks in the foundation, seal leaks, and ensure the crawl space is dry before proceeding.
Pro Tip: Wear protective clothing and gear to avoid contact with mold or pests during this stage.
Step 2: Install a Vapor Barrier on the Floor
Measure and Cut the Vapor Barrier to Fit the Crawl Space: Use your measuring tape to determine the dimensions of your crawl space. Cut the vapor barrier to fit the area, ensuring it extends up the walls by at least 6-12 inches.
Secure the Barrier with Tape and Sealant: Lay the vapor barrier on the floor, overlapping the seams by at least 12 inches. Use vapor barrier tape and sealant to secure the seams and edges, ensuring a tight seal.
Pro Tip: Overlap the seams by at least 12 inches and seal them thoroughly to prevent air leaks and ensure complete moisture protection.
Step 3: Seal Vents and Openings
Identify and Seal All Vents and Openings: Locate all vents, pipes, and wires that penetrate the crawl space walls. Use spray foam or insulation to seal these openings.
Use Spray Foam or Insulation to Seal Gaps Around Pipes and Wires: Apply spray foam insulation around any gaps or holes to create an airtight seal.
Pro Tip: Ensure all seals are airtight to maintain a controlled environment within the crawl space.
Step 4: Insulate the Walls
Attach Insulation to the Crawl Space Walls: Cut insulation panels to fit the walls and secure them with fasteners. Make sure the insulation extends down to the vapor barrier on the floor to create a continuous seal.
Ensure the Insulation is Properly Fitted and Secured: Check that the insulation is snug against the walls and that there are no gaps.
Pro Tip: Use rigid foam insulation for better moisture resistance and durability.
Step 5: Install a Crawl Space Dehumidifier
Choose a Suitable Crawl Space Dehumidifier from Abestorm: Select a dehumidifier that is appropriately sized for your crawl space. Abestorm offers a range of efficient and reliable models.
Place the Dehumidifier in a Central Location and Connect the Drainage System: Position the dehumidifier in the center of the crawl space and connect the drainage hose to ensure continuous moisture removal.
Pro Tip: Regularly check and maintain the dehumidifier to ensure optimal performance. Clean the filter and inspect the unit periodically to keep it running efficiently.
When to Call a Professional?
While DIY crawl space encapsulation can be a rewarding project, there are situations where professional help may be necessary and you’ll be asking if is there any ‘crawl space encapsulation near me’. Knowing when to call in the experts can save you time, and money, and ensure the job is done correctly.
Situations Requiring Professional Help
Extensive Damage: If your crawl space has significant structural damage, water intrusion, or mold infestation, it’s best to consult a professional. They have the expertise to handle extensive repairs and ensure long-term solutions.
Complex Structural Repairs: Issues like foundation cracks, major leaks, or severe pest infestations may require specialized skills and equipment that only professionals can provide.
Lack of Time or Experience: If you lack the time, tools, or experience to complete the encapsulation process effectively, hiring a professional can guarantee a high-quality result.
Benefits of Professional Crawl Space Encapsulation Services
It’s better to wonder if there’s any ‘crawl space encapsulation near me’ than to do something wrong. Professionals bring specialized knowledge and experience to the project, ensuring all aspects of encapsulation are thoroughly and correctly addressed. They use high-quality materials and advanced techniques, providing a more durable and effective encapsulation. Moreover, A professional service includes thorough inspections, precise installations, and reliable maintenance plans, offering peace of mind and long-term protection.
Pro Tip: When in Doubt, Consult a Professional
If you’re unsure about any part of the encapsulation process, it’s always wise to consult a professional. They can provide valuable insights and ensure the project meets high standards of safety and efficiency.
Conclusion
Encapsulating a crawl space is a vital project for enhancing your home's health, energy efficiency, and structural integrity. By taking on a DIY crawl space encapsulation, you can significantly improve your living environment while saving money.
Ready to Take the First Step Towards Your Healthier Home?
For high-quality crawl space dehumidifiers and encapsulation materials, visit Abestorm. Our expert team is ready to assist you with personalized advice and support to ensure your project’s success. Don’t wait—take the first step towards a healthier home environment today by exploring our range of products and services.
Shop For Dehumidifier