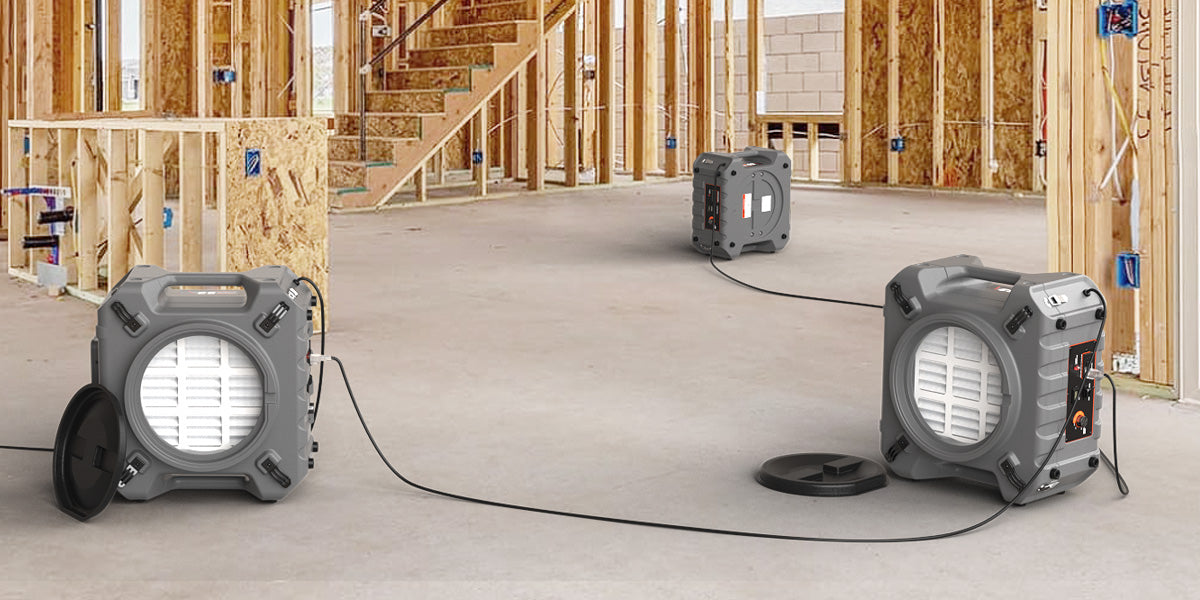
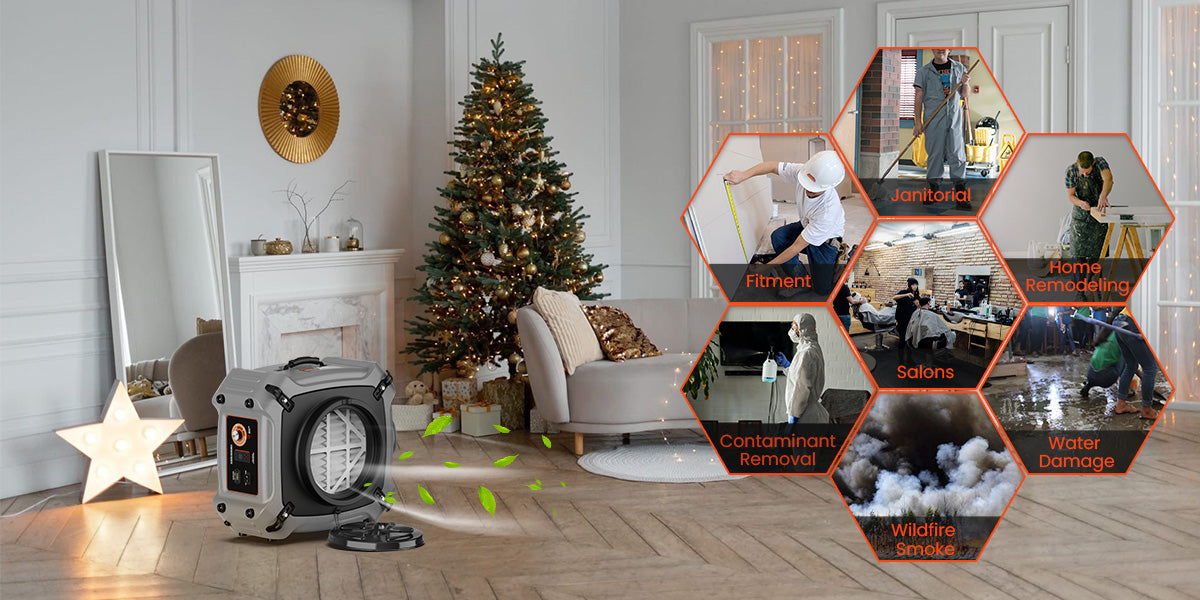
A negative air machine is very effective in eliminating contaminants in the environment. It can create negative air pressure. This can contain harmful particles.
Yet, setting these machines up without prior experience is a puzzle. A well-set-up negative air machine ensures high-level containment of hazardous particles. Which has made it a top choice in construction, healthcare, home renovation, and more. So, in this brief guide, you’ll learn how to set up your negative air pressure machine.
Understanding Negative Air Pressure Machines
What is negative air pressure?
Air pressure is negative when the pressure inside a space is lower than that outside. This imbalance creates a pressure difference which causes air to flow into the area, not out of it.
A ventilation system continuously removes air from the space to achieve negative air pressure. This constant outflow creates a vacuum-like effect, pulling fresh air from outside to replace the extracted air. The primary purpose of negative air pressure is containment. Lowering the pressure creates a low-pressure environment. This keeps contaminants (like dust, mold, bacteria, or viruses) from escaping.
The ventilation system used to achieve this is called the Negative Air Machine. A negative air pressure machine can also be referred to as a HEPA air scrubber.
Check our previous article on “What is a negative air machine?” to learn more about negative air pressure machines.
Key Components of a Negative Air Machine
Filters: The filter is the heart of any negative air pressure machine. This is especially true for the HEPA (high-efficiency particulate air) filter.
The ideal negative air machine should have a 2-stage or 3-stage filtration system like our HEPA Air scrubbers. The system has two parts. The pre-filter is the first part. It captures larger particles and protects the more expensive HEPA filter.
Then, HEPA filters are designed to capture 99.97% of 0.3-micron particles. These include bacteria, mold spores, and other allergens. The last layer is the activated carbon filter, which is best for tiny particles like smoke, odors, and VOCs.
Fans: Fans come in different sizes depending on the machine's size, capacity, and desired airflow. But they have a main goal: to create the airflow. This airflow drives the capturing, filtering, and containing of contaminated air in a negative air machine.
Ductwork: Ductwork has one main job. It channels and exports the filtered air out of the containment area. Ducting directs airflow. It helps keep the area at negative pressure. Depending on your preferences, ductwork comes in flexible and rigid units too.
Preparing for Setup: Choosing the Right Location and Sealing Your Environment
Choosing the Right Location
Selecting the optimal placement for your negative air machine is crucial for its effectiveness. Consider these factors:
Proximity to Contaminant Sources: Place the machine close to the main source of contaminants. This ensures maximum efficiency in capturing and filtering the polluted air. For instance, place it near the demolition or sanding area in a construction zone.
Make sure the machine is easy to access: This is for routine maintenance, filter changes, and monitoring. A location that allows for unobstructed airflow around the unit is ideal.
Ventilation is key: The machine creates negative pressure. But, good ventilation in the area is also vital. This helps to maintain a balanced atmosphere and prevent the buildup of stale air.
Power Source: Verify that a suitable power outlet is available nearby to avoid extension cord usage, which can be a safety hazard.
Sealing the Environment
To make your negative air machine more efficient and stop contaminants from escaping, you must seal it well. Follow these steps:
Identify Entry Points: Carefully inspect the area for potential air leaks. Common entry points include doors, windows, cracks in walls, and gaps around pipes and electrical outlets.
Seal Doors and Windows: Utilize plastic sheeting and painter's tape to create a secure seal around doors and windows. For larger gaps, consider using door sweeps or weatherstripping.
Block Ventilation: Temporarily seal vents, registers, and chimneys to prevent air exchange. This helps maintain the negative pressure environment.
Inspect for Gaps: Examine baseboards, molding, and electrical outlets for any openings. Seal these with caulk or expanding foam for a tight fit.
Use Door Draft Stoppers: Placing draft stoppers at the bottom of doors can help prevent air leakage.
Remember: The goal of sealing is to create a contained environment. It lets the negative air machine remove contaminants without them escaping. Follow these steps and they will improve your equipment's performance and also protect your air quality.
Step-by-Step Guide on How to Set Up Your Negative Air Machine
Preparing Your Workspace
Before setting up the machine, make sure your workspace is ready. This will maximize its efficiency:
Create a sealed space by using plastic sheeting, painter's tape, or temporary walls. Use them to enclose the area where the contaminant is. This will prevent contaminated air from escaping.
Seal the area, but leave enough ventilation. This prevents stale air from building up.
Power Source: Check for a suitable power outlet near the desired location for the machine.
Positioning the Negative Air Machine
Place the machine to perform well. Do so based on the factors below.
Place the machine close to the main source of contaminants. This gives the machine the greatest efficiency.
Airflow is important. Place the machine where air can flow around it.
Elevation: Consider placing the machine higher up. This will improve air capture from the room's higher levels.
Ensure you can direct the exhaust duct outdoors without obstructions.
Installing filters and ducting
Filter Installation: Follow the filter manufacturer's instructions for a secure installation. This involves fitting the filter into a designated slot or frame within the machine. Ensure there are no gaps or openings around the filter that could allow air to bypass.
Connect the provided ducting to the machine's exhaust outlet. Do this as the manufacturer instructs. Secure all connections to prevent air leaks. The other end of the ducting should point to an exhaust point. This could be an exterior window or vent.
Powering Up and Testing
Once the machine is set up, it's time to activate it and perform initial checks:
Connect the machine to a power outlet.
Turn on the negative air machine.
Check the airflow. Verify the machine draws in air and pushes out filtered air through the duct.
Check for negative pressure. Use a gauge to confirm that the machine creates negative pressure in the containment area.
Ongoing Monitoring
Regular monitoring is essential to ensure optimal performance. Here are a few measures you can take to ensure the best operation:
Filter Inspection
Filters capture contaminants. When they become clogged, the machine's efficiency decreases. It may even stop working. Look for visible signs of dust, debris, or other particles on the filter. Replace filters as needed, following the manufacturer's guidelines.
Ducting Check
The ducting system transports filtered air away from the machine. However, damage or leaks can reduce the machine's effectiveness and create safety hazards. Look for tears, holes, or loose connections in the ducting. Repair or replace damaged ducting promptly.
Air Pressure Monitoring
Maintaining negative air pressure is essential for containing contaminants.
Use a pressure gauge to measure the air pressure in the containment area.
Adjust the machine's settings or seal any leaks if the pressure is not in the desired range.
By following these monitoring steps. They will make sure your negative air machine operates at most performance.
Maintenance and Safety Considerations
Regularly inspect filters and replace them as needed.
Ensure fans and motors are clean and running smoothly.
Check for any wear and tear in the ducting and replace if necessary.
Always use personal protective equipment when handling and maintaining the machine.
Ensure the machine is properly grounded and protected from water.
Conduct regular inspections to prevent and promptly address any issues.
Conclusion
Setting up a negative air machine is not about following instructions. It's about understanding the system and making sure it works well. This keeps the environment safe and free of contaminants. Proper preparation, precise setup, and consistent maintenance are key. Install these steps and consider the safety guidelines to optimize your machine's performance. This effort ensures the air you breathe is as clean and safe as possible.
Here are ways Abestorm can help you.
Visit Abestorm to discover our top-rated negative air machines or air scrubbers. Our cutting-edge equipment is designed to meet your needs. It works for both small residential projects and large commercial jobs.
Don't know how many negative air machines you need? Our expert team is here to provide personalized advice and support. Go here to relate your needs to our support team.


Shop For Dehumidifier